First, we went to the library (of course), and maxed out our 50 book limit with a stack of books about the ocean.
We started out by learning all about starfish!
I used the sea star lapbook from Homeschool share for some of these activities.
Starfish are fascinating creatures for such simple looking creatures.
Levi decorated a starfish with cornmeal, representing their spiny exterior.
We talked about symmetry, and the difference between bilateral and radial symmetry. (I hadto think about that one before I could explain it!).
We watched a youtube video that showed the anatomy of a starfish (a dissection).
Then one of the books we checked out had a whole section on regeneration,with pictures to explain it. The lapbook had a printable with a moveable arm to demonstrate this.
I explained how starfish move, and we practiced "walking like a starfish", I also had him look at some suction cups to show what a starfish's tubular feet look like.
A little math thrown in - counting by 5's using starfish cut outs, they have 5 arms, so that helped to explain it more. This is a skill we've been working on in his Life of Fred math book as well.
And the last lapbook element was a little tab book I made, about what an Echinoderm is -
- they have no head
- body plan based on a 5pt star with a mouth in the middle
- they have tube feet for moving/gathering food
- they have a hard skeleton under their skin
Levi did a little craft project as well.
Sandpaper Starfish
- Paint a piece of white construction paper all over with just water.
- Using a few shades of blue/turquoise, paint the paper with wavy lines. Let it dry.
- Color sandpaper all over using oil pastels (crayons will work too, but pastels are really fun on sandpaper)
- Cut out a starfish shape and stick it to your background.

The finished work!
We also learned all about how starfish eat. They have two stomachs, one for grabbing their food, and one for digesting it.
Levi explains it here:
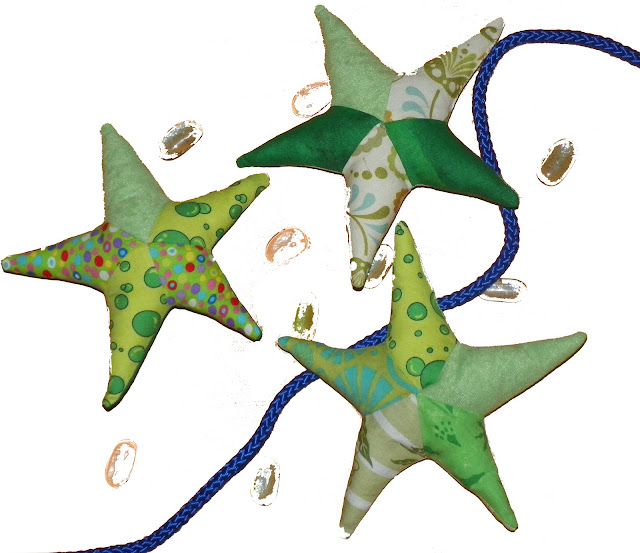
In starfish mode, I made a set of cute starfish for The Little Sewing Shop.
You can purchase them here.
I also learned how to make this picture:
Into this:
Kinda fun.... I'm still not the best at taking pictures, but I'm working on it!


No comments:
Post a Comment