Saturday, May 12, 2012

The Little House in The Big Woods (part 3)

Pin It
Ok more on our Little House in the Big Wood project:

Going along with the winter theme, we reviewed "left" and "right" hands, and decorated paper mittens.   We also started a poetry journal and included a poem about mittens, and a craft project demonstrating symmetry.  We talked about Christmas at the Ingalls house, compared to Christmas at our house (yes, totally off season).  Levi also did a write up about a gift he received, he wrote about his surf board.


His handwriting is getting a little better! 

Next we talked about Pa's fiddle.   In The Little House books, Pa often breaks out his fiddle to play and sing along with.  We made a mini fiddle with a rubberband to "pop" while singing "Pop goes the weasel"  

In the book, they make maple syrup right from the trees, and have a big party afterwards.   We learned about maple syrup making when we studied Vermont, so this was just a review.  Mainly we ate maple syrup, on our made from scratch pancakes.  We use a dairy free recipe, that you can find here.  
He wanted super hero shaped pancakes, but super hero masks was the best I could manage.  

At the party, Uncle George played his bugle, so Levi decorated a toilet paper tube, watched a bugle video on youtube and then tried out the bugle calls himself.    We also tried square dancing!  

Next in the book is spring time, Laura and Mary go to town for the first time, and Laura picks up too any pebbles and her pocket rips!  Levi sewed a mini pocket on my sewing machine, and cut out some paper pebbles to put into it.  

Another thing they did in the spring time was make cheese.  Another activity that we can't actually do because he has a dairy allergy, but we replicated some of the techniques they used.  

So part of the process of cheese making involved cutting up the chunk into curds.  We did this using some tofu, and a fruit cutter thing I found that works perfectly for this (although not for cutting fruit).
We added a little salt and then put the "cheese" into a clean cloth, and squeezed the "whey" out of it.  Put it under a heavy container to squeeze even more out of it (they used to use a big rock for this).   Tasted it a while later, it tasted like rubbery, salty, tofu, so not that yummy, BUT he saw how all the water was squeezed out and got a better idea of the process. 

And then we made a smoothie with the rest of the tofu - orange, mango, tofu, and some orange juice:


We did a few other small activities and mini books for our lapbook.  One about cousin Charly, who was just like the "boy who cried wolf" and ended up stung all over by yellow jackets.  Another reviewed what the family did throughout the seasons.  And lastly we read a poem about being afraid, and about when Pa thought a stump in the woods was a bear  - and talked about being scared.  Levi drew his own "stump monster" to go with the poem.  


Pin It 

You can find the rest of this unit study here:

This was our first "Big" lapbook based unit study, and I think Levi really got a lot out of it.  there were so many activities we could do, just from this one book!    I'd love feedback/suggestions if you have any ideas to share.


Wednesday, May 9, 2012

Dying Playsilks, a lesson in Absorbtion

Pin It
I'm participating in a swap on Craftster and I decided that I needed to make a silk scarf for my swap partner, so I let Levi help me do it because its very simple, yet you can get some amazing results.   These scarves are wonderful for imaginative play - Levi's scarves are often being used as super hero capes or to make forts, but he has also used them for babywearing his doll, or as a blanky perfect for travel because it folds up so small.  For adults, you can use them as, well, a scarf.  But they are also great for other things as well - everything from "wrapping paper" to decoration, to a beach cover up.  

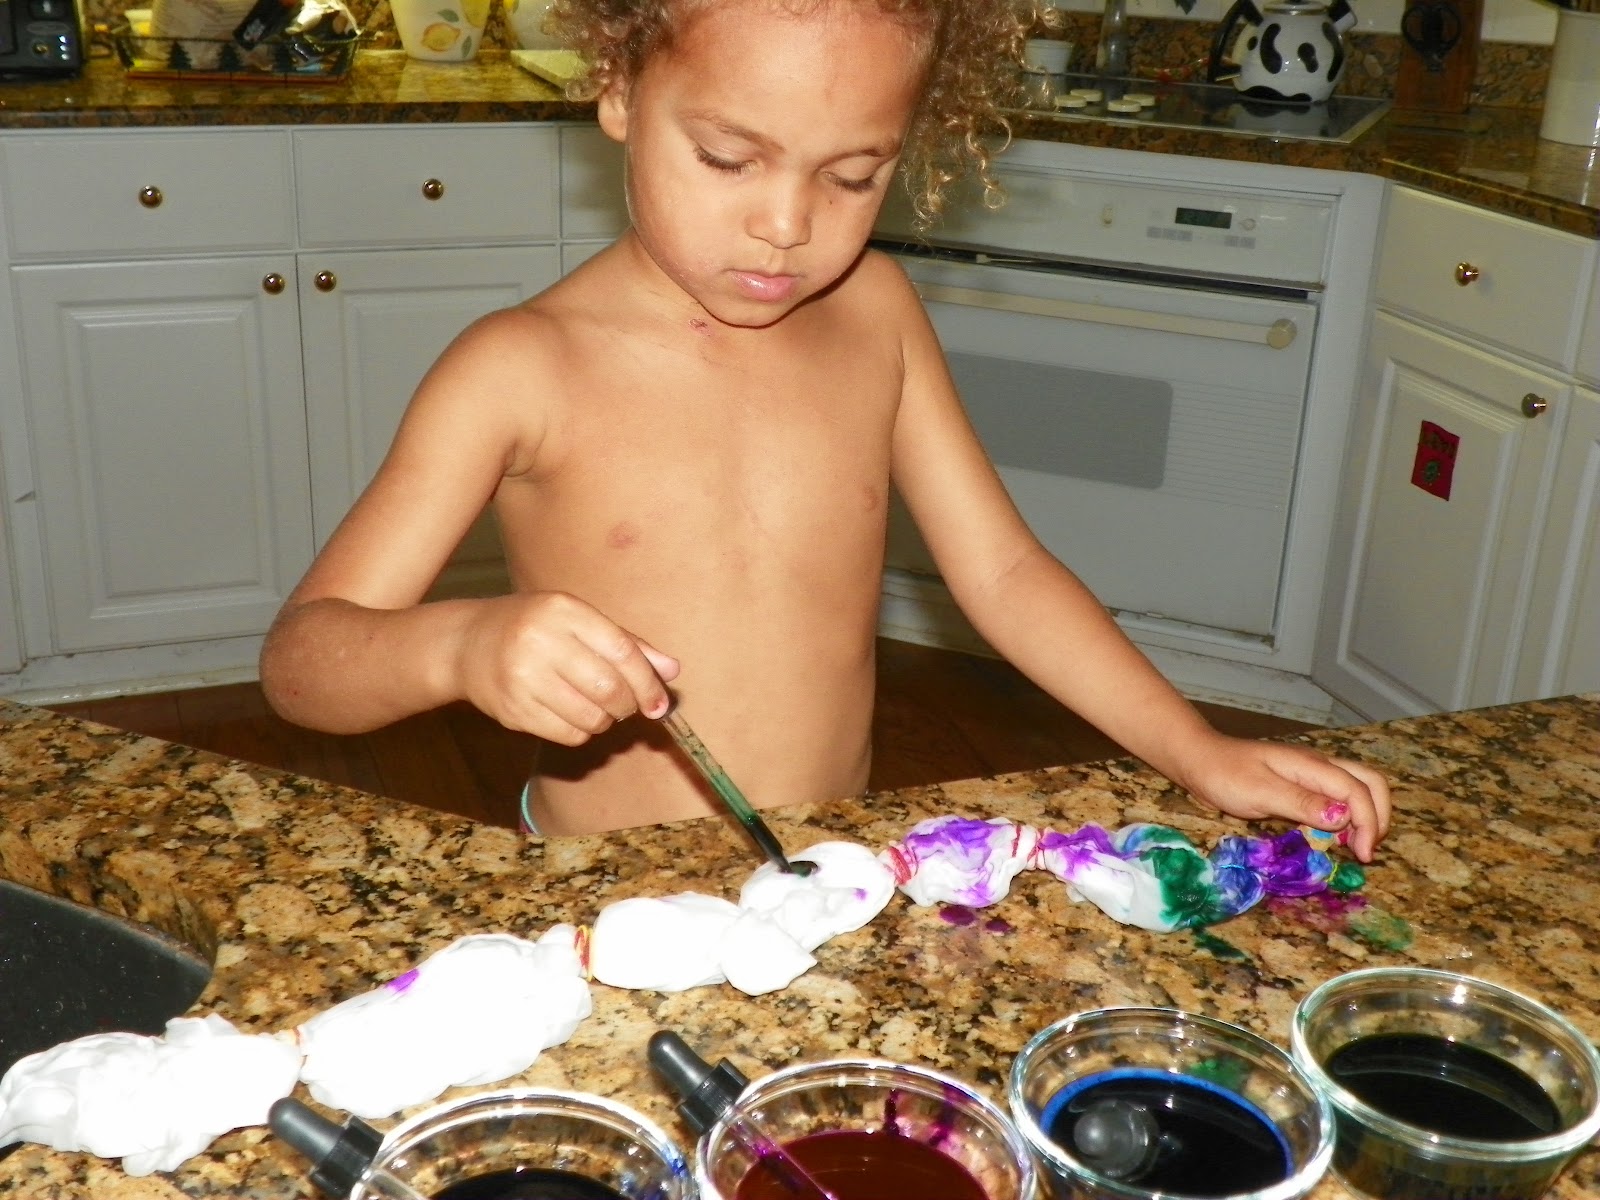
To dye a playsilk, I dip the silk in vinegar, and tie it up with rubberbands like you would tye dye.  The dye is acid dye - just a tiny bit goes a long way.  I just mix it with water until it dissolves.  

Next is the fun part!  
After everything is dyed, I wrap it in foil, and out it in a steamer for about 15min.  Then rinse, and dry and thats it!  

And this is what you get....
Pretty isn't it?   This is one we made before, the one we made today wasn't dry in time for pictures!  

And each one is different... 


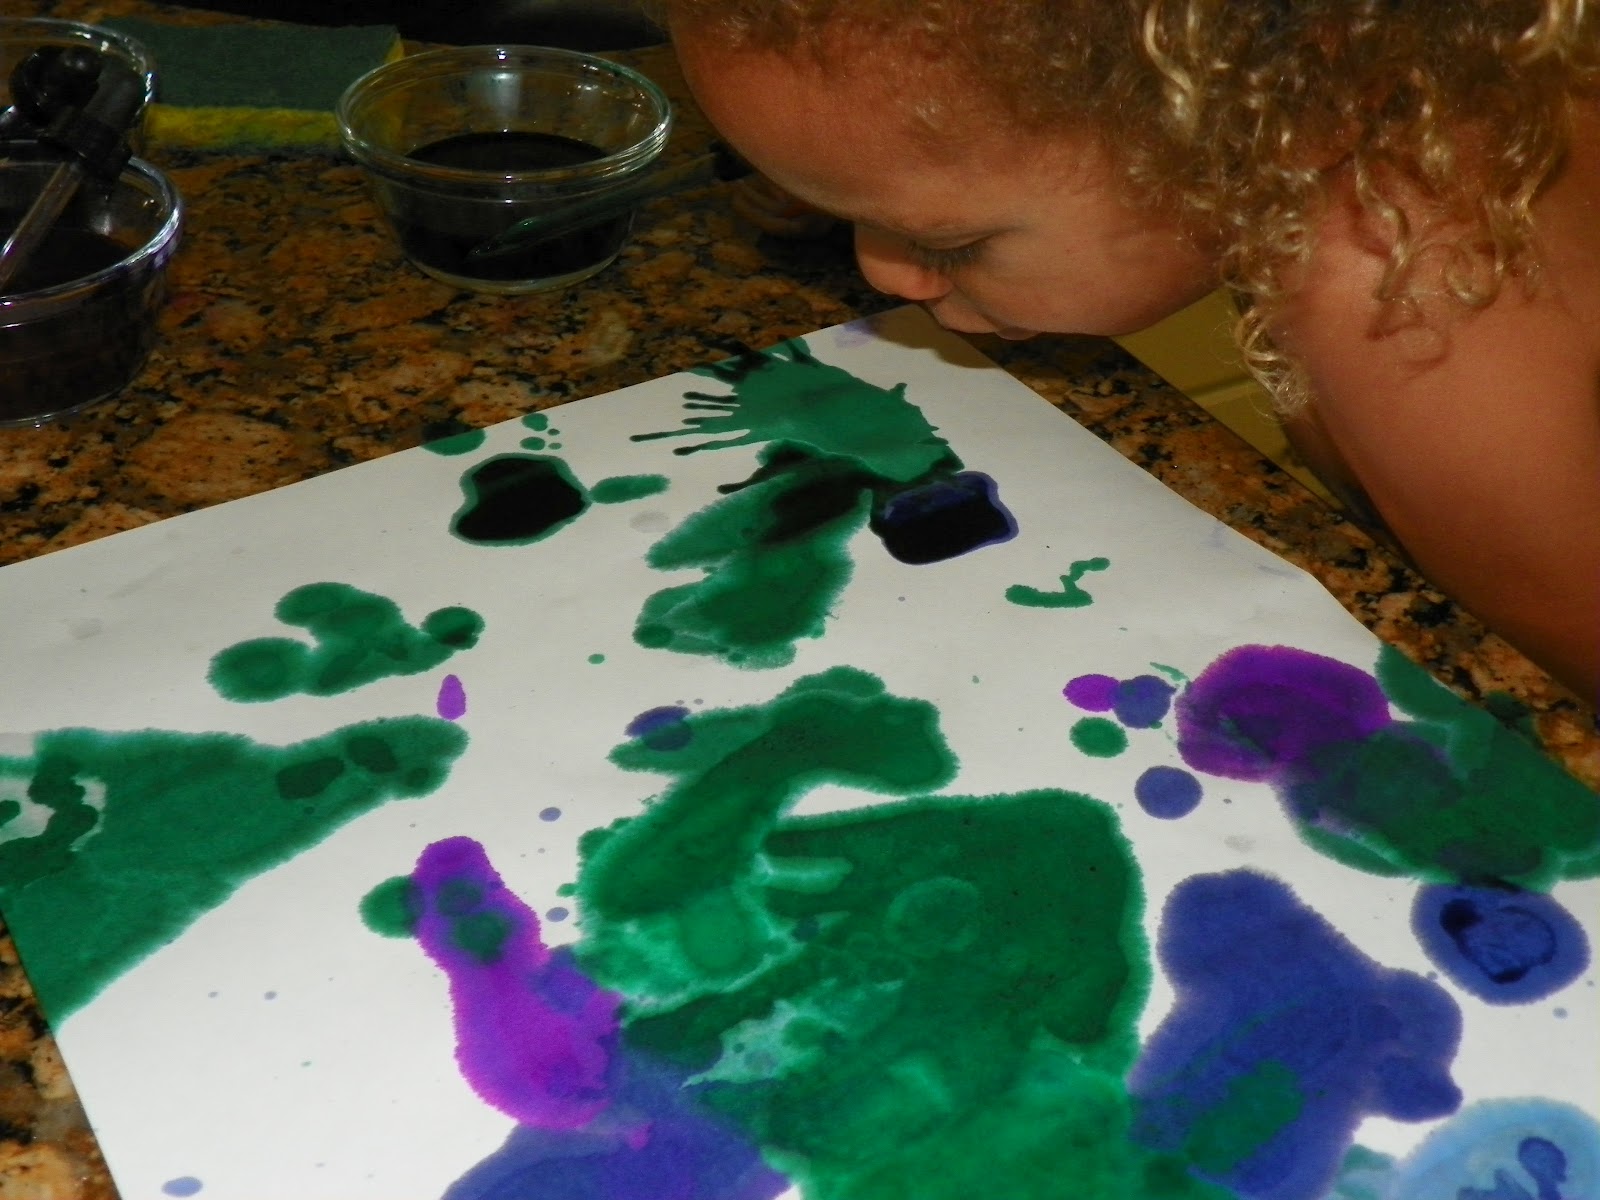
With the leftover dye, we played with it on some paper, and watched it absorb.  Levi tried putting two drops close together to se what would happen, he also tried dripping dye on wet parts of the paper. 


And then he decided to try blowing on it.

We just used basic construction paper, it might be interesting to compare with different types of paper
Pin It


Water Beads and Shaving Cream

Pin It

Have you played with water beads yet?   The first time we saw these was at a farmers market where they had a bowl of them to play with.  They were selling them to put plants in, but the guy said he once sold a ton of them to a lady who wanted to fill her bathtub with them!    Well they do have a fun texture to them, and can be used for lots of sensory play.


Today we mixed water beads with shaving cream:


Other things to try:
bounce them
paint with them
put them on the light table
make them glow in the dark
grow plants in them
step on them
watch them hydrate and dehydrate
scent them
freeze them
put them in a "wave" bottle
hydrate them with other liquids
put them in a water balloon
sort them
try to pick them up with chopsticks
use them in sensory bins
put them in a wading pool
mix them with slime (cornstarch and water, or the borax/glue slime)


Some of these ideas I found on a blog with lots of fun ideas for kids, called Fit Kids Clubhouse, and another blog called The Chocolate Muffin Tree, some I saw on Pintrest, and some I just thought would be fun, and I'm sure we will think of even more!


Pin It

Sunday, May 6, 2012

Little House in the Big Woods (part 2)


Pin It
More on The Little House in the Big Woods...

The next part of the book describes winter in the Big Woods... much colder than our Florida winters!
Laura and Mary wake up to frost on their windows, with designed scratched into it.  We did a Florida version, using white window paint and then scratching into it.  We also made some paper snowflakes, my mom thought we were weird for doing "winter" activities when its been 80* out. 


Next we learned about the process of churning butter.  We got the opportunity to try this when we went on a homeschool field trip to Fort Christmas, but unfortunately, with Levi's milk allergy, there wasn't much point in doing it at home (its very easy, just put heavy cream into a jar with a couple marbles, and shake away!).   
But we did get to try something else.  In Little House in the Big Woods, Ma uses grated carrot to color the butter a yellow color.  

So, we grated some carrot...   

And put it in Almond milk!   We heated it up a bit until it turned yellow, and then squeezed the carrot shreds out using a bit of clean cloth. 
And lastly tasted the grated "milky" carrot, just like Laura and Mary did in the book.  
They also molded the butter using a strawberry shaped mold - so we spent some time in the sand box (well, sand and dirt), using sand molds to demonstrate the process. 

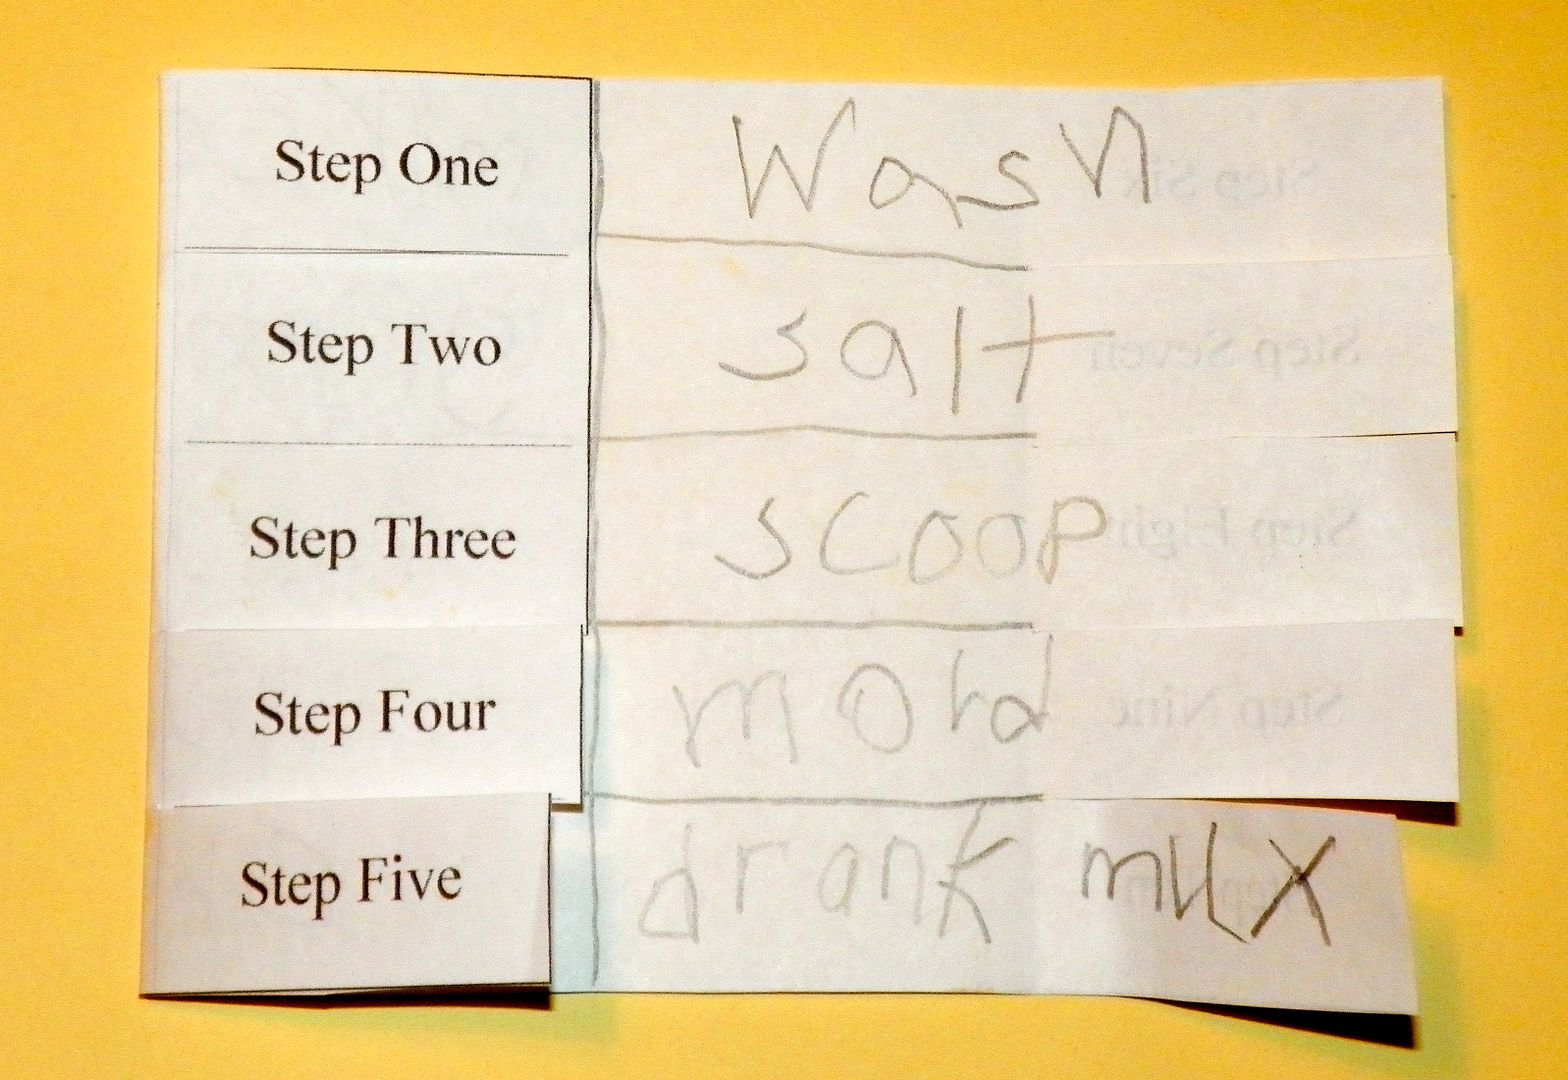
We also made a mini book where Levi wrote down all of the butter making steps.  

The fire and fireplace is a big thing in the Little House - they used it to keep warm, and to cook.  
We did a simple marble art craft to make a "fire".  Just put some paper in a tray or box, add globs of paint, and some marbles - roll to make the design. 


Next we learned all about gun safety.  I am not a gun fan, but I think its important for kids to learn about gun safety, so I found a little song on youtube.  

STOP!
Don't touch
Leave the area
Tell an adult 

Catchy, and to the point.   For our lapbook, we learned that Pa kept his gun up high above the door - where he could reach it if he needed it, and where the kids couldn't touch it.   We also discussed why Pa has a gun in the Big Woods, and what he does with it (protection from wild animals, hunting for meat to eat). 

To tie into that, we learned about all of the animals in the Big Woods.  Levi's favorite is the panther, and he spent several days crouching behind things and 'pouncing' on unsuspecting people.  Including some poor lifeguard at the Yacht Club when his grandparents took him out to eat! 
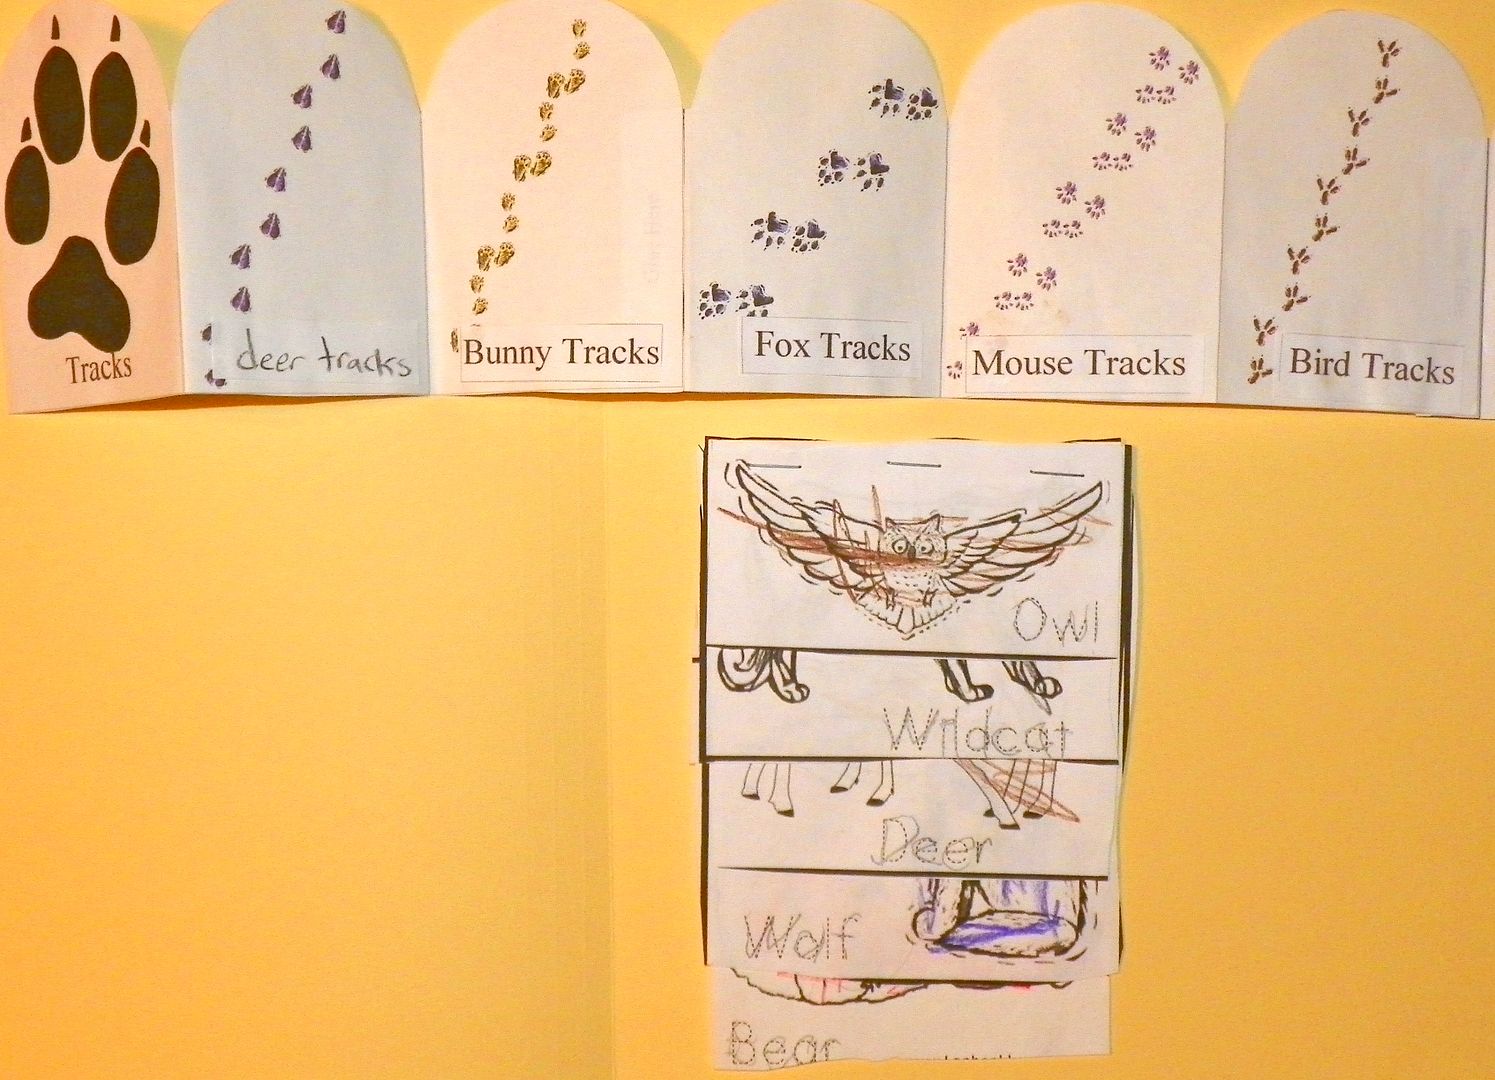
We compared animal tracks, and also traced some animal names.  I tried to get him to color the animals, but he is still not into coloring at all. 

We made an owl craft as well, I found the idea on another blog, Meet the Dubiens, its very cute, with handprints for the wings and simple cutouts that Levi did himself.

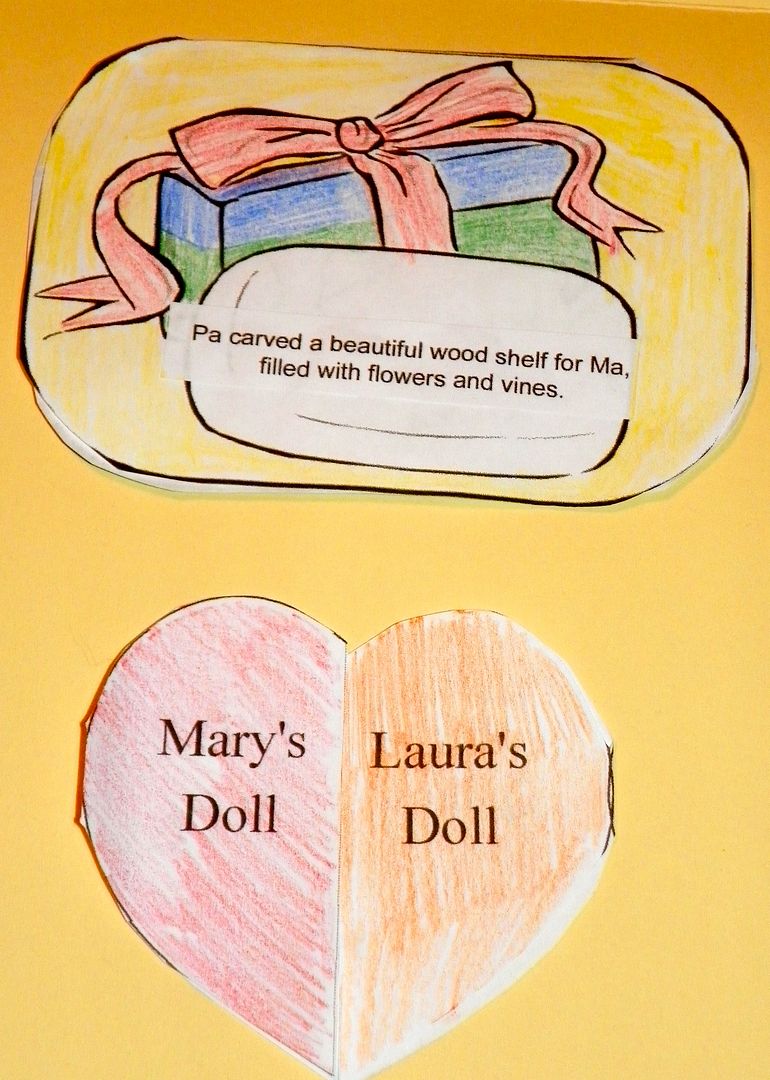
Next in the book, its Christmas time!  Pa carves Ma a beautiful wooden shelf, so Levi tried his hand at carving as well, but using soap.  First he planned his design, and then carved it.
He is using my stamp carving tool, but lots of different things would work.  


When done, we popped it in the microwave to make a soap cloud.  This only works with Ivory soap!  We've done this one a few times, still fun every time.  


Part 1 of The Little House in the Big Woods project can be found here.

Part 3 is up now too!


Pin It

Saturday, May 5, 2012

Happy Cinco De Mayo!


Pin It

My Little Bookcase - Sharing a fun project, and our new bookshelves!

I always say, you can never have too many books, just not enough bookshelves.      Levi loves loves loves books and we pick them up at thrift stores whenever we find good ones (which is all the time).  Lately we have been running out of room on our big bookshelf, so it's harder for Levi to put his books back properly without smushing the covers or giving up and laying them across the top of everything. 

So I made some rain gutter bookshelves!  I had seen the idea before, at a friends house and all over Pintrest.  I found a blog, Raising Olives, which has a great tutorial.
I also found a neat project, at My Little Bookcase.  The projects aim is to share the love of reading and books.  They have 10 challenges, and the first was to "get creative with your storage", so that was just the kick I needed to actually go out and get the materials for the project.    Its not too late to sign up!  You can read more about the project here.

Levi also enjoyed working with real tools, he helped use the level, measure, mark where the screws go, and hold the shelves in place.   And right away he plopped down on his bed to read. 

Pin It

And speaking of Pinterest, have you followed me on Pinterest yet?
Follow Me on Pinterest
I have lots of Pins on homeschool related links, sewing projects, fun kids stuff, and more!


Tuesday, May 1, 2012

The Little House in the Big Woods Unit Study (part 1)

Pin It
We aren't done yet with out "Little House in the Big Woods" unit study, but we have been doing SO many different activities that I'm going to share some now.

Levi really likes the "Little House" series, we've read them all a few times, and he has also listened to them on CD at bedtime as well.   I found some lapbook ideas online, and decided to go more in depth on the topic.

These are the two places we got many ideas from, I've also added my own, and modified some.
Homeschool Share (I'm always finding good stuff on here)
LapBook Lessons

Lapbook lessons has an entire learning plan all written out with activities to do after reading each section of the book.   We have been loosely following this, although moving much faster than it suggests. 


I haven't assembled the lapbook yet, I'm waiting until we finish everything, its going to be a big one! 

We started out by talking about where Mary and Laura live in the Big Woods.   We used some Lincoln logs and blocks to build a log cabin and barn.   Later on in the week, Levi decided he wanted to build another log cabin, this time using pretzels and almond butter.  He took the picture below with my camera, but ended up eating it before he got much farther. 


 Our cookie sheet is REALLY old, but it is clean, I promise! 
 Levi also decorated a log cabin for his lapbook, using Popsicle sticks for logs (we only had colorful ones), and markers to draw the rocks that make up the chimney.  In the attic is an accordion book of some of the foods stored in the attic.  He colored that as part of a listening activity, following my directions as to which color to use for each element. 


The next part of the book explains how they preserved food.  How do you preserve food with no fridge?  For some of the meat, you smoke it.   We did our own play on this for a snack - because we are vegetarian, we used firm tofu, which Levi sliced thin...

 Gotta have the tongue out to cut accurately - he loves to help in the kitchen, and supervised of course, he is allowed to use the sharp knives. 

The tofu was placed on a cookie rack, and then dried in a cool oven for a very long time until it turned into a chewy "jerky".    If we had a food dehydrator, I would have used that, but ours pooped out.  

Laura helped Pa to stoke the fire in the smoker by carrying hickory chips in her apron.  Levi used his "Chef Levi" apron to clean up some of his junk from around the house.  Its harder than you'd think to hold the apron and load it up at the same time!   

These are the lapbook elements for meat preservation.  Inside of the little house Levi wrote about smoking meat, and on the right is the smoker made from a log.  The door opens up to show a fire, and hickory chips. 


The next part of the book describes what happens when its time to kill the family pig for meat.  Not very pleasant for a vegetarian family to read.  The girls make a balloon out of the pig's bladder, so we did an origami activity to make a little paper balloon.   Directions can be found here.  Levi also did a cutting activity, cutting a circle into a spiral, like a pigs tail. 


Next, we read about Laura and Mary playing with their dolls.  Laura's doll is a corncob, so we used that as inspiraiton and made our own cornhusk doll.  And then we had corn for dinner. 

Peeling corn

The result (he was impressed!)


Thats it for now, more on the Little House in the Big Woods later! 


Pin It

The rest of our unit study is up!

Part 2
Part 3