Thursday, April 11, 2013

Mr. Popper's Penguins Lapbook

This is Part 2 of our 3 part unit study on the Arctic/Antarctic.

Part 1: Inuits
Part 2: Penguins/Mr. Popper's Penguins
Part 3: Polar Bears/Magic School bus Polar Bear Patrol

Follow my Pintrest board with arctic ideas here


I found a great lapbook through Homeschool Share on Mr. Popper's Penguins.  It has questions for each chapter, and activity ideas.  We did many of them, skipping ones that Levi was not quite ready for, and adding in some more of our own!   The Homeschool Share pack had some lapbook templates, but not many.  It did have a lot of questions, so I used those to make templates of my own to go with them.
The templates I created (to go with the Homeschool Share Lapbook)
The directions for my templates

I also made a "travel brochure" template, which can be used for this book, or for anything else.   In Mr. Popper's Penguins, Mr. Popper dreams of travel.  So one of the activities we did was to design a travel brochure.  This template is a blank that has some info for kids to fill out to create there own.  This would also be a good one if you are studying a particular country, city or area.  
Travel Brochure  


Most of the activities we did are up in the templates link, but here is one we did on Penguin Beaks.  We learned that penguins have a rubbery grip inside their beaks to help them hold onto slippery fish.   We folded a model of a beak, and then did some experimenting.   He had to pick up a slippery chapstick tube using chopsticks, and then we added rubberbands to see if there was a difference.  


Another experiment we did was to find out about penguin feathers.  They are covered with oil.  So I put some olive oil on his hand to see how the water beaded up.   


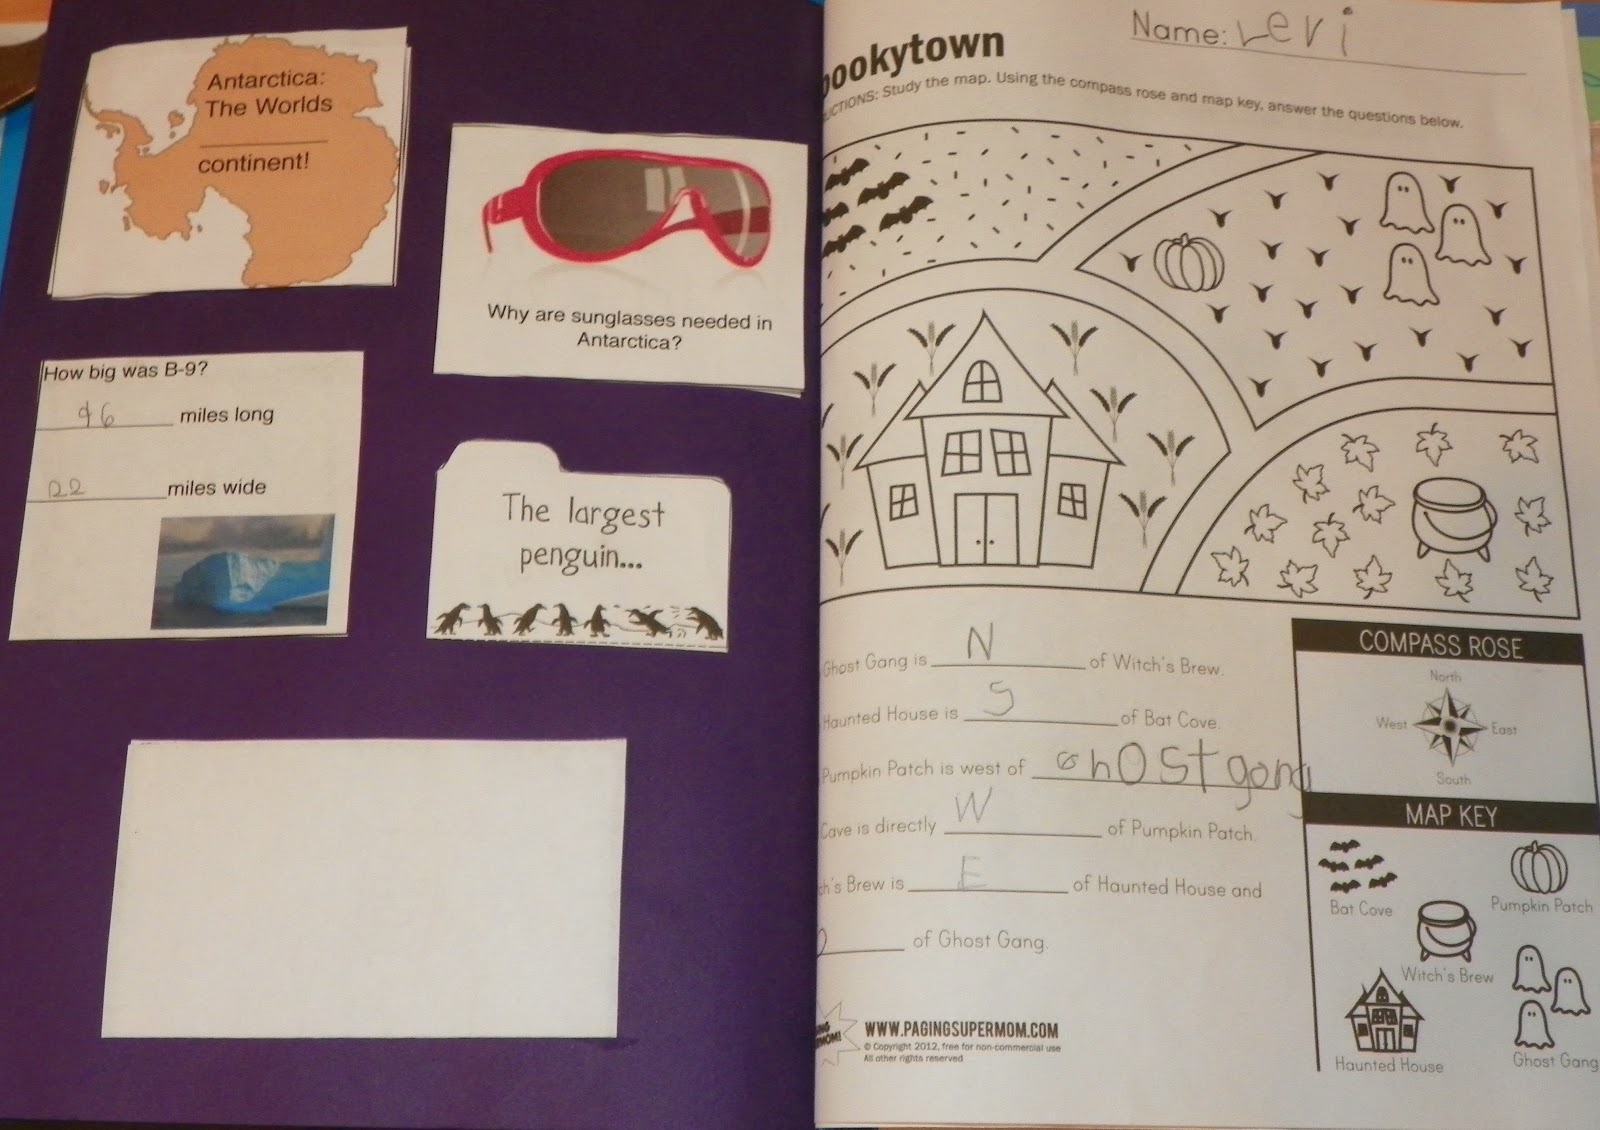
And here is the finished lapbook, it is many pages long!


On the right is a map activity I found someplace, its Halloween theme, but oh well! 
On the left is the back of a page where he chose pics from National Geographic magazine to cut out.  On the right is a made up pet.  

This is the travel brochure he made.

Copywork, all is from Draw, Write, Now.  
 His handwriting is literally better than mine already! 


This was another LONG unit, but he really likes the book, so it was fun for him!   I try and go deeper into the topics he is most interested in, and just cover the basics on ones he isn't as into.  

Monday, April 1, 2013

Easter 2013

 Last week, Zach had no school, so he was with us more than usual.   This gave us the chance to do some fun art projects!  One of them was a great mixed media spring craft.    I think they came out really cute! 


These don't have to be strictly Easter, the birds could even be blue birds instead!  So here is a quick tutorial:

You need: 
  • elmer's glue
  • paint (brown, + whatever colors you want for your birds, we used orange/yellow)
  • tissue paper
  • brown paper
  • colored paper (bird colors and background color)
  • sticks/leaves/feathers etc.
  • scissors
  • toilet paper tube or similar
What to do:
  1. mix a squirt of elmer's glue, a squirt of brown paint and a little bit of water in a container.  
  2. scrunch the tissue paper and lay it on the brown paper.  Paint with a generous amount of the brown paint mixture, scrunching and laying out the tissue paper to make a textured look.  Let this dry.   Other thin papers will work too, even paper towels or toilet paper.  
  3. Meanwhile, use the toilet paper tube dipped in paint to print the circle shapes on colored paper.  Use the back of a paintbrush to dot on eyes, and glue triangle or diamond shaped scraps of paper on for beaks.    
  4. Go on a nature hunt and find some sticks and things while all that finishes drying!
  5. Cut a nest shape from the brown textured paper.  Cut out the birds leaving the paint circles inside your cut-outs.   Glue to a background.  Now decorate with your elements from nature.  
 That's it!   Hang up and enjoy. 

 Now, onto the Easter stuff.

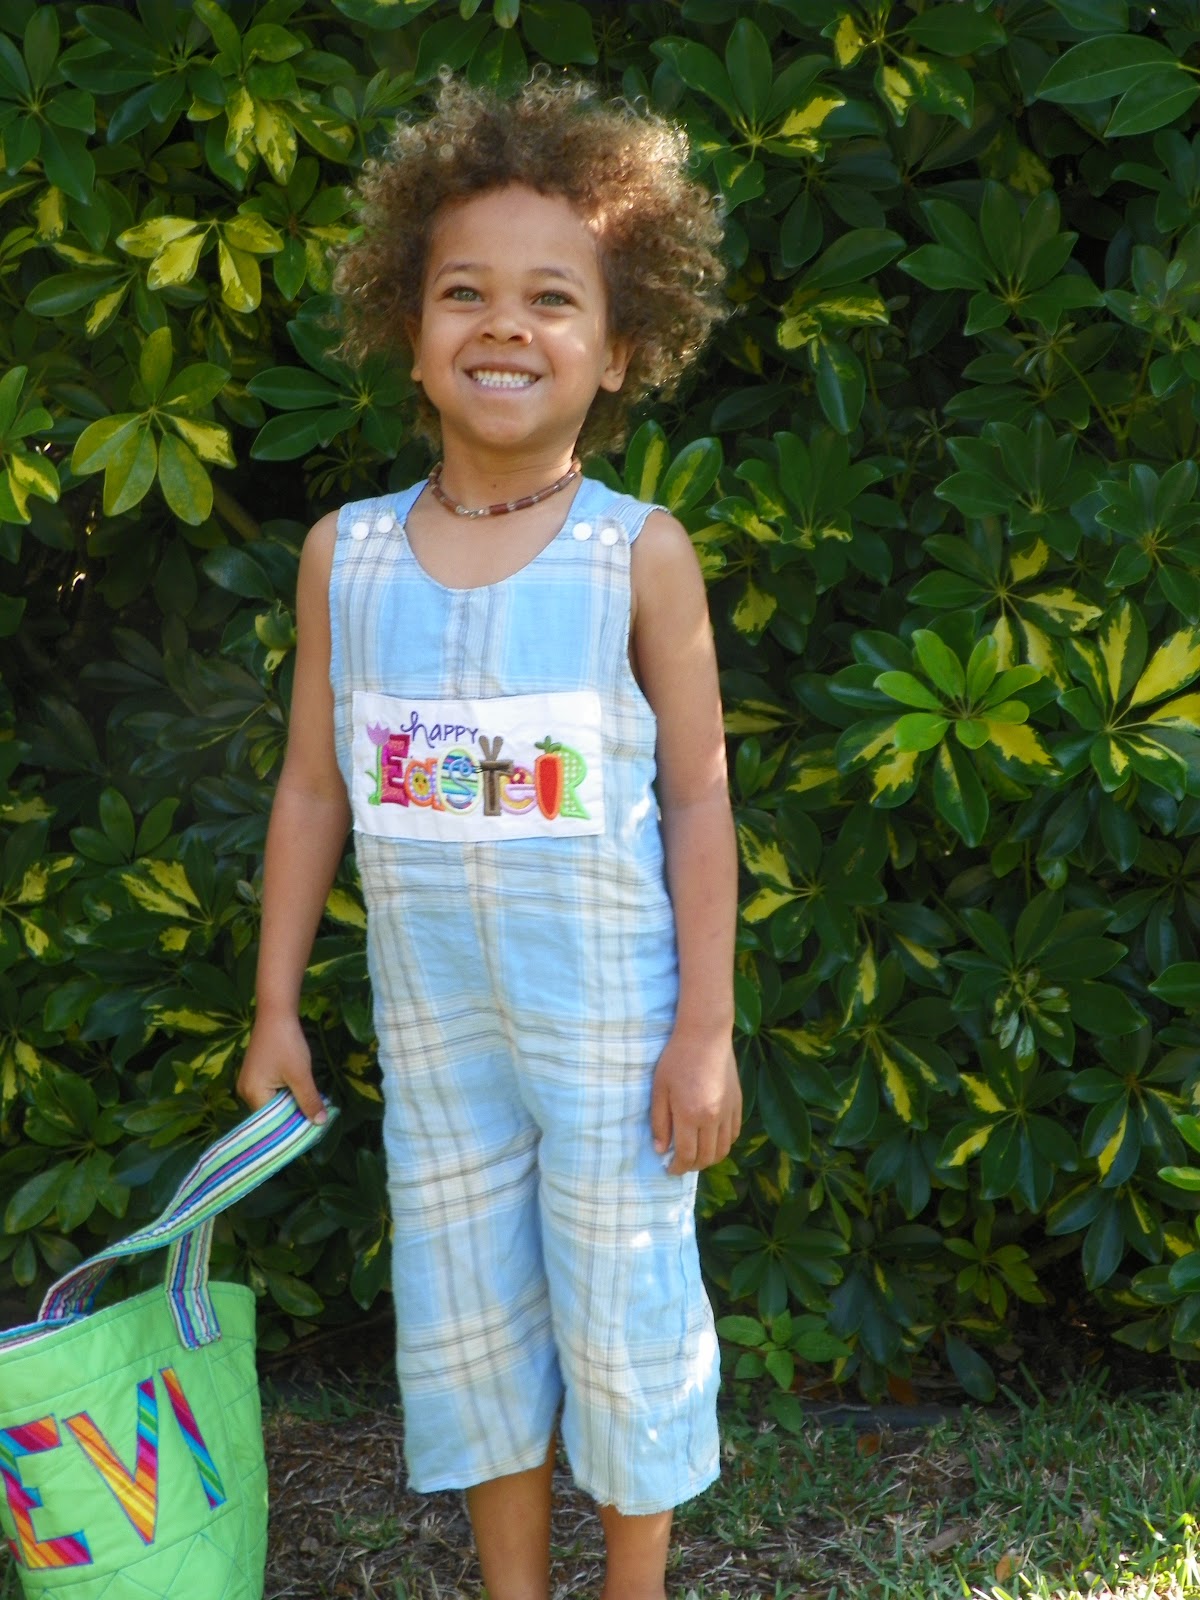
First, Levi got some new clothes (as usual).

A funny Easter shirt:

And a romper, this one is the St. Patty's one, reversed!  


We dyed eggs.  This year we tried out the liquid water colors as dye, they worked quite well, although the brown and black dyes were not very attractive.     (note that Nai Nai has her glass of wine, all set for egg dying!) 


Levi could not make a normal face for pics. 

Then the next day, he got to hunt for them, along with a zillion plastic eggs that we have collected from previous years egg hunts.   They were hidden outside in the front and back, and all over the house.   


We tried to go to an egg hunt at the park, it turned out to be a very graphic church service.   We had already attended our service at the UU church, so we skipped it, and caught a quick train ride on our way out. 

Levi's Easter basket had pinwheels, seeds for the garden, bubbles, egg shape chalk, a rainbow spinner, purple socks, and some putty that makes fart sounds (big hit!)

And his favorite, a fun glasses shaped straw!  He tested it out with some diluted cranberry juice (he doesn't do well with drinking actual juice, but I added a splash to make the water red, more fun that way!)


Happy Easter from The Little Sewing Shop! 


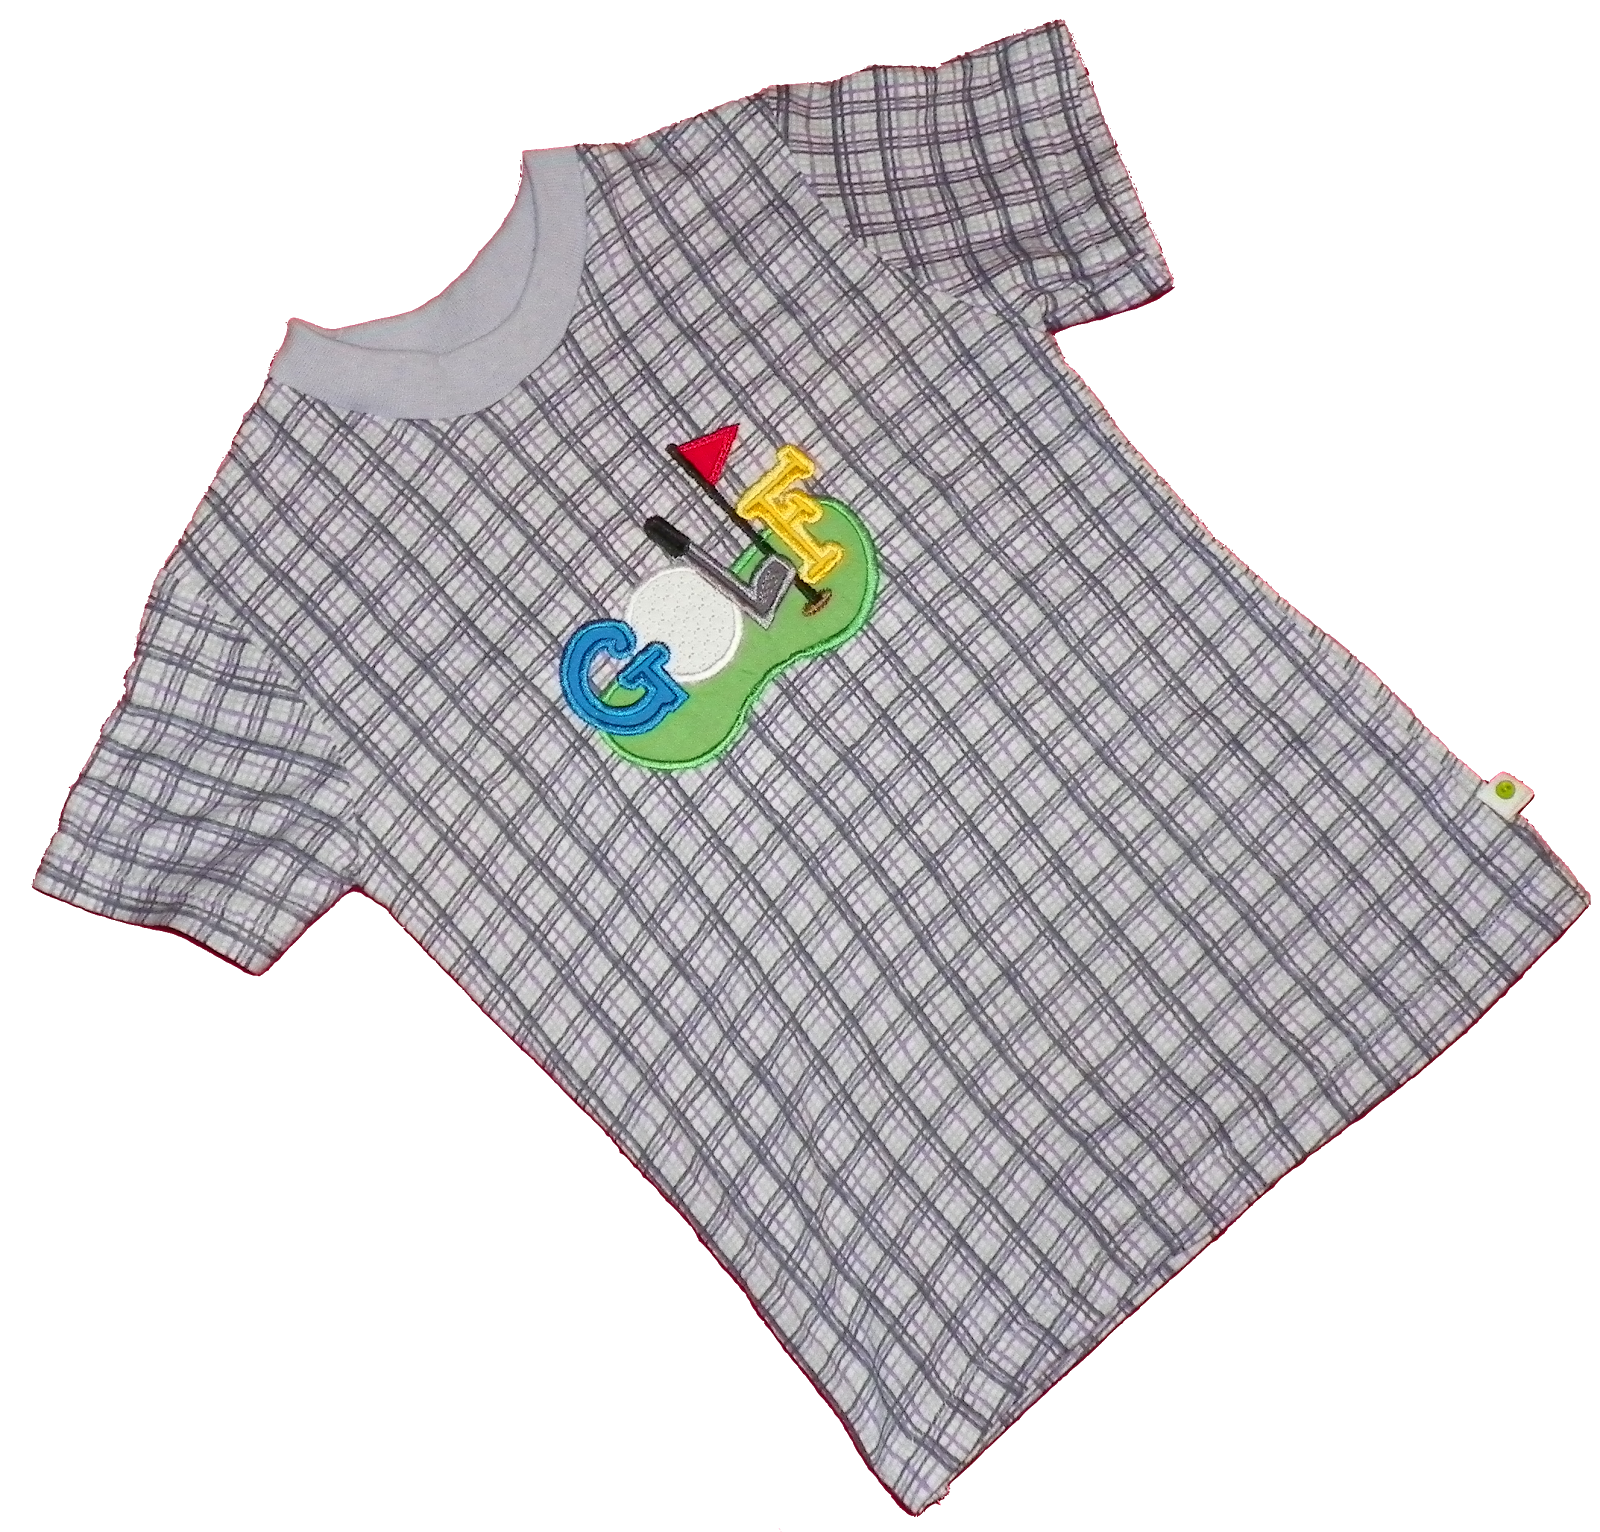
Arnold Palmer Golf Outfit

Levi went to a golf tournament with his grandparents, so of course I made him an outfit to wear.


When I was already done with the shirt, my dad called up and asked me to add this text to it.  So I did, using a simple freezer paper stencil method.  


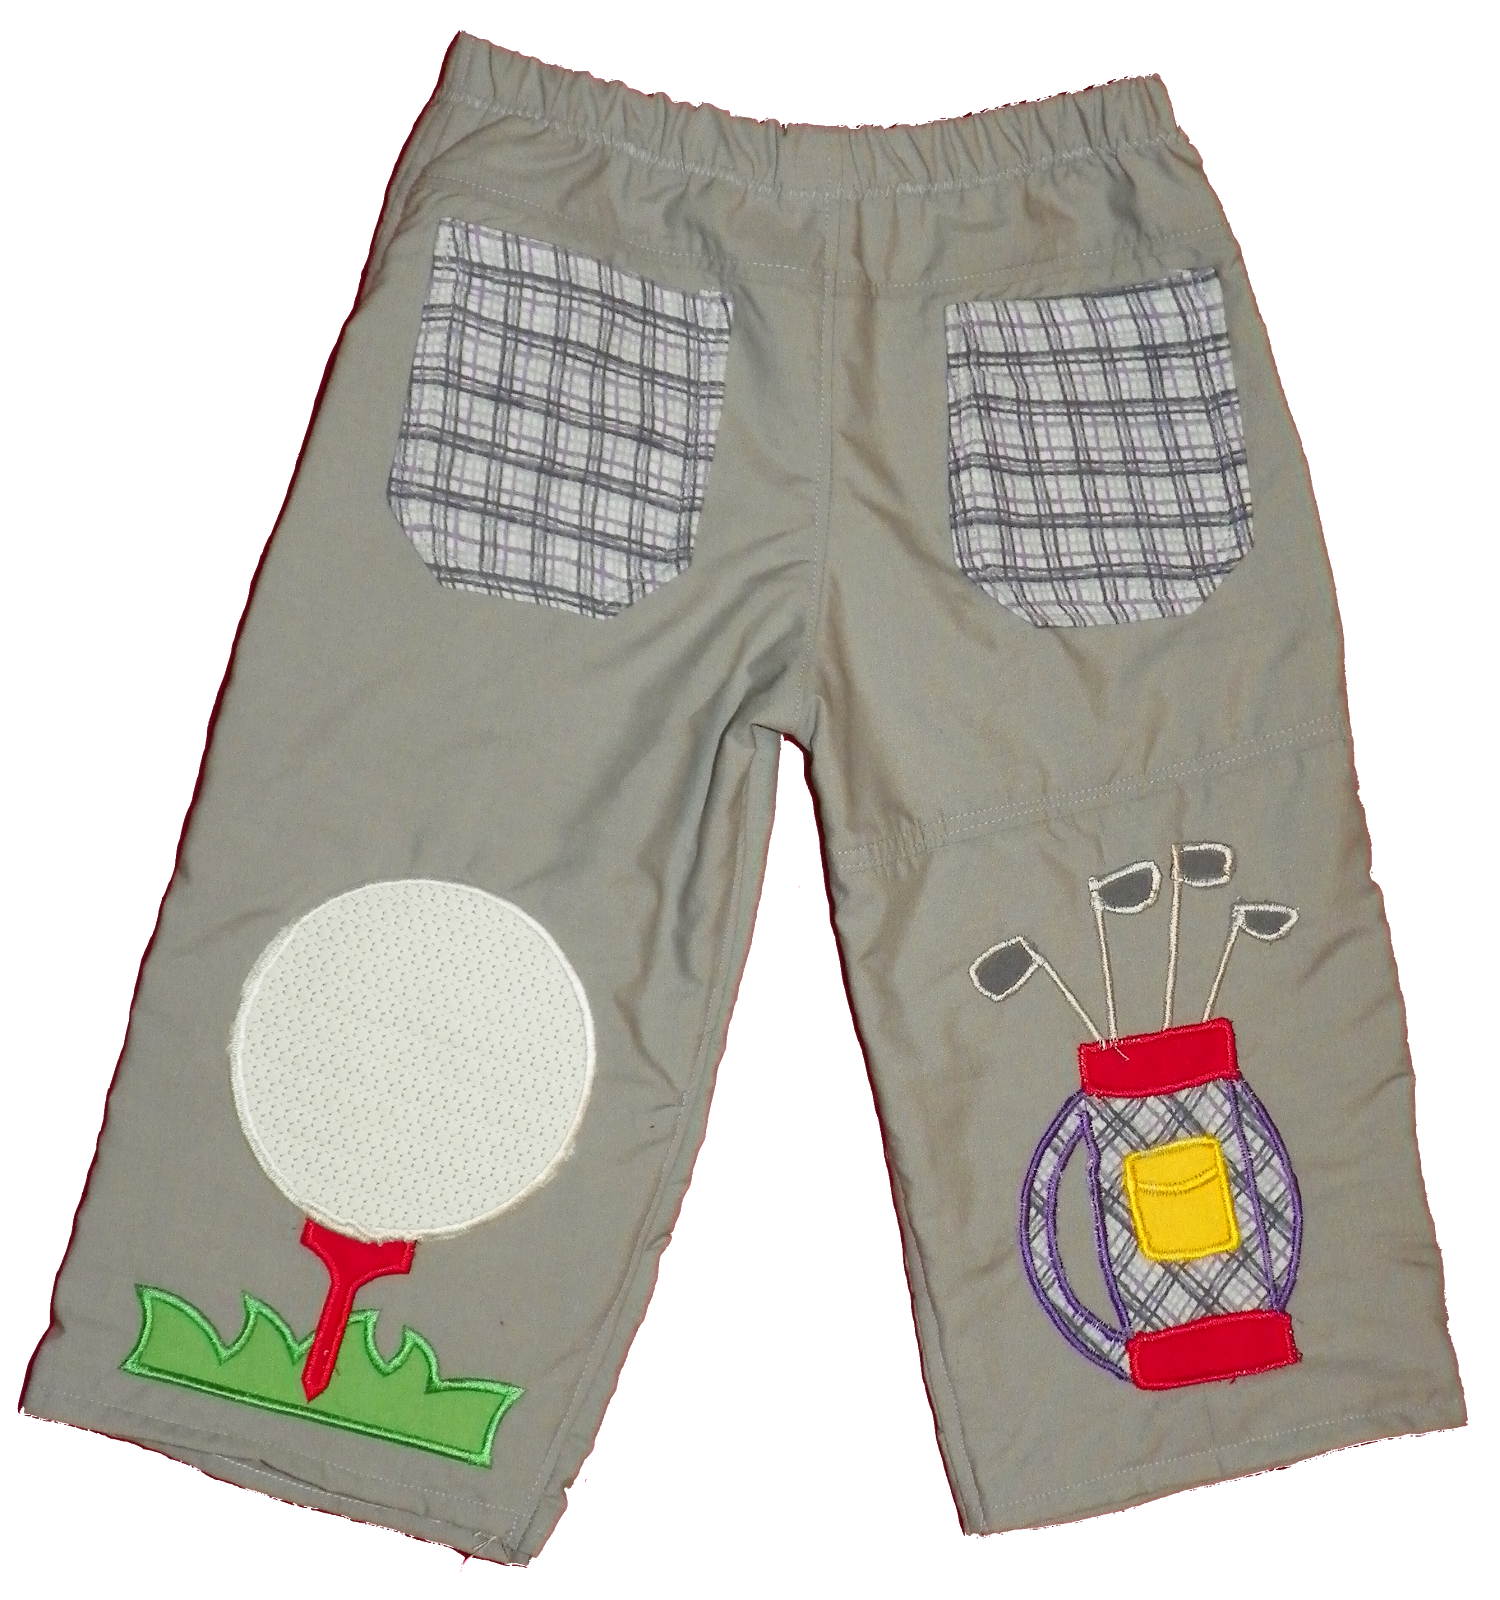
I did 6 different embroidery designs for this outfit.  All are from Lynnie Pinnie embroidery, they are all such fun designs and sew up so nicely!   Unfortunately, my brand new embroidery machine decided to poop out on me in the middle of these, so you can see some sewing flaws in some, particularly the golf ball.  The last one, the golf bag I ended up having to sew on my regular machine, so its not as neat and perfect as it would have been on a properly working embroidery machine. 


I really like this shorts pattern.  This is the same pattern I used for the Little Monster outfit I made as a first b-day gift a while ago.   In fact, its even the same size!  (yep, my 5yr old can wear clothes sized for a 1yr old, I did add length).   Its interesting because it has front yolks as well as back, which gives a nice finish to the top of the pockets.   Its also super easy and fast to sew up, which is good when you are spending so much time embellishing (and yelling at broken embroidery machine!)


He got a ton of compliments at the golf tournament.  Levi is a character all right, he had people trying to take him home with them and paying more attention to him than the golf.   One lady spent half an hour talking to him about polar bears and the arctic, a nice review of his arctic unit by a total stranger.

Now, if I could just get my embroidery machine back online, I can make more fun outfits like this one! 


Saturday, March 2, 2013

Happy Birthday Dr. Suess!

We are going to a Dr. Suess event this afternoon, and they have a costume contest!   I got to make a costume in March, instead of October for once!


Levi chose to be a Star-Belly Sneetch.


Ta da!!!


I made the poster while he was in music class. 


This costume has 3 layers.  First is a yellow jumpsuit, then is a "fat suit" (with a padded bum and belly), and last is the bubble romper type thing made from a towel!   He also has a white collar, striped neck (snapped scarf), hat, pointy shoes, and 3 fingered gloves.  

The jumpsuit took the longest out of everything.  Its been cold here (for Florida anyways) so he can wear it for lounging or pj's,  or music class, or whatever!   Its a loud color, but that suits my crazy boy!